Automotive window tinting has become an increasingly popular choice among car owners looking to enhance their driving experience. From reducing glare and protecting your vehicle's interior to improving energy efficiency and privacy, the benefits of window tinting are numerous. In this comprehensive guide, we'll explore the principles, advantages, and the step-by-step installation process of automotive window tinting.
The Principles of automotive window tinting
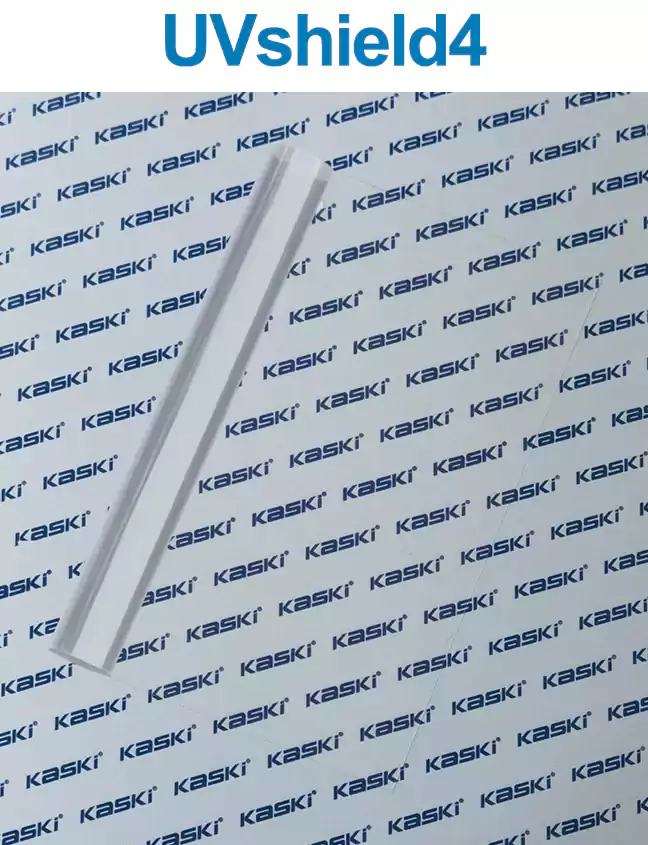
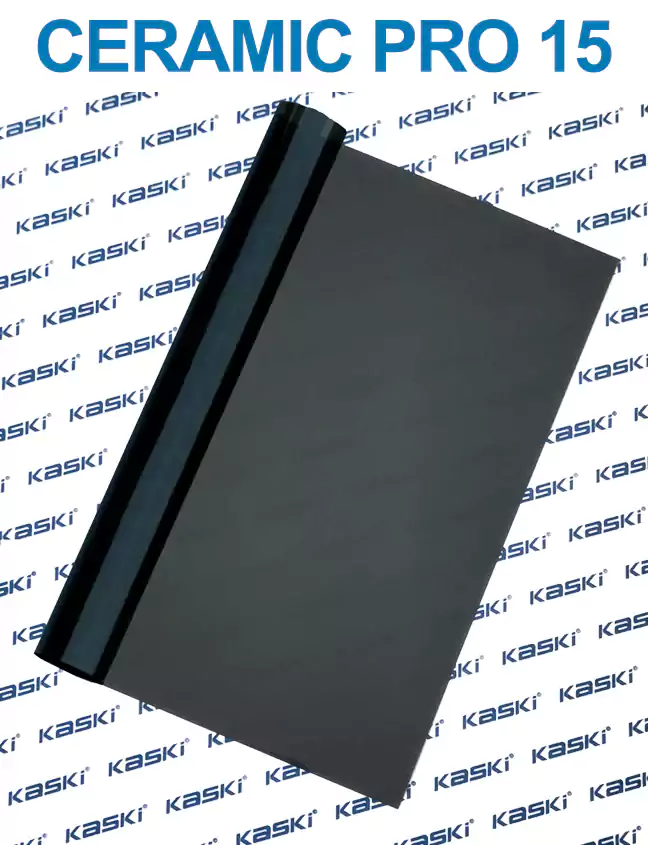
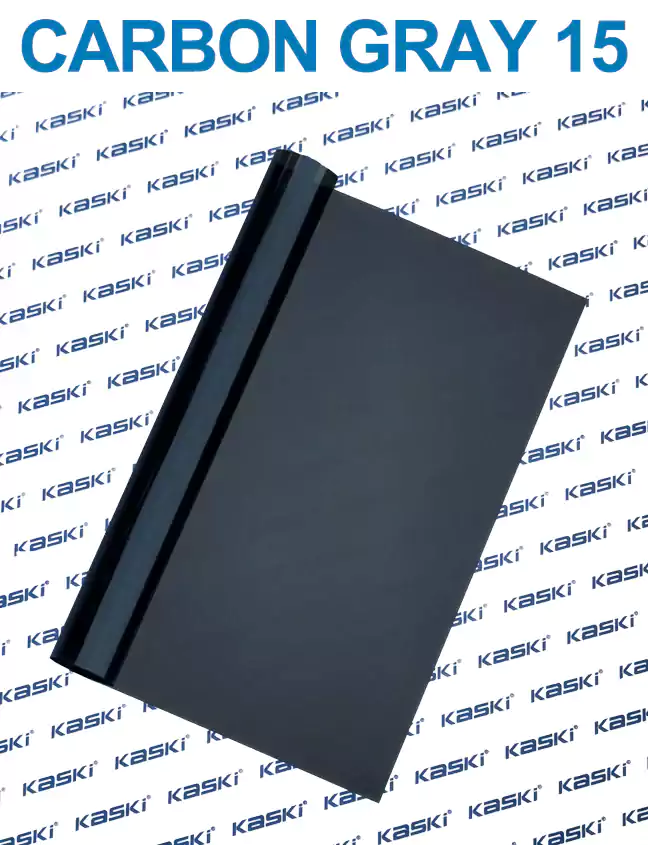
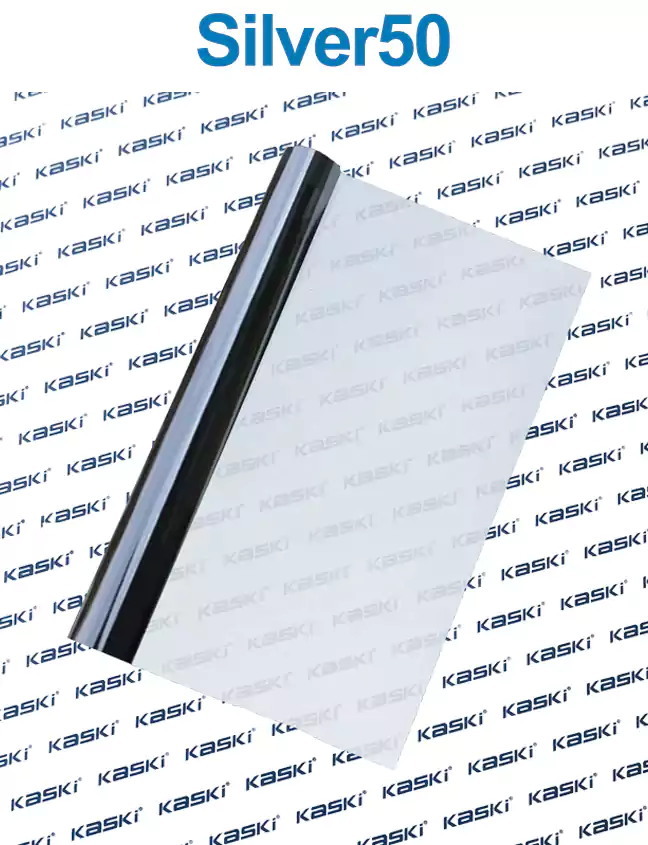
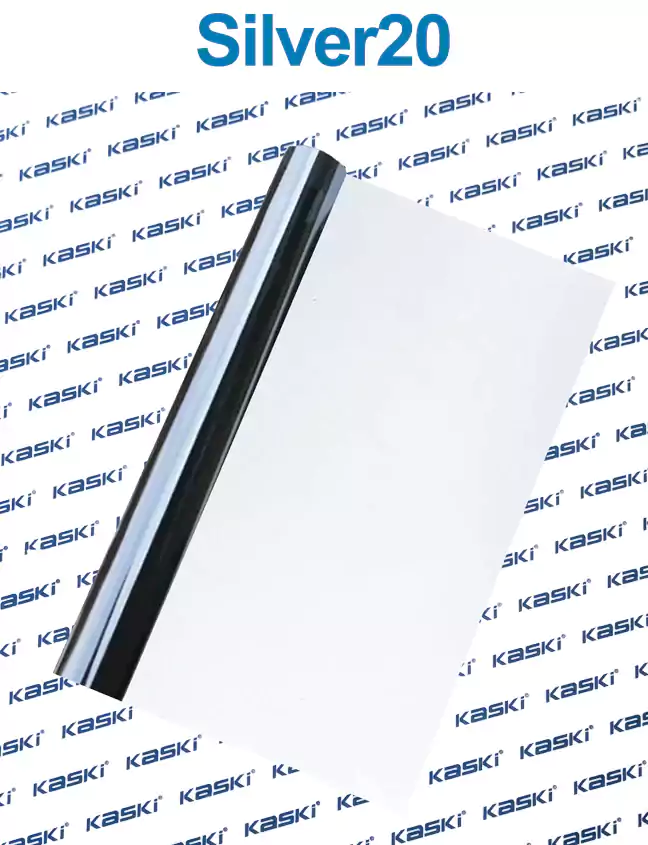
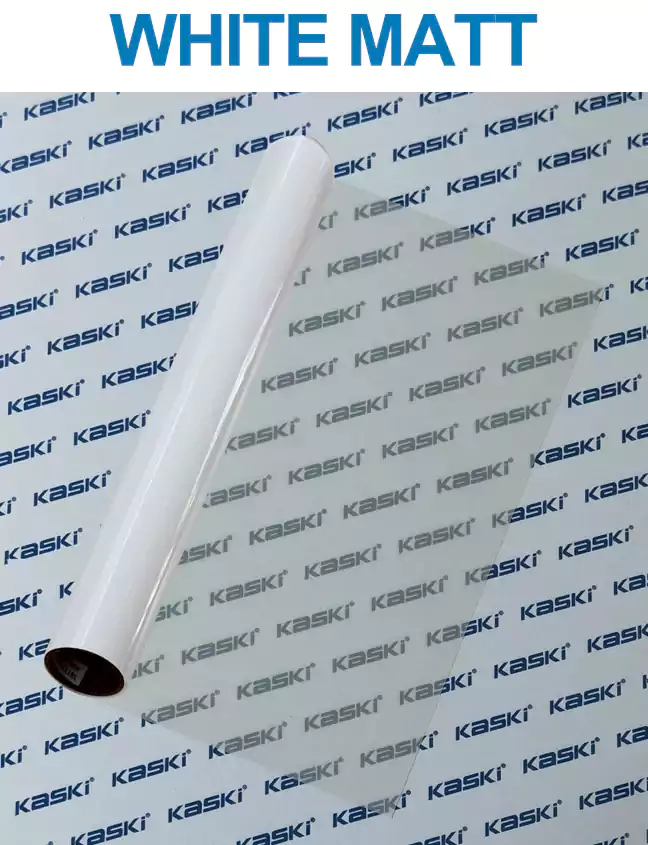
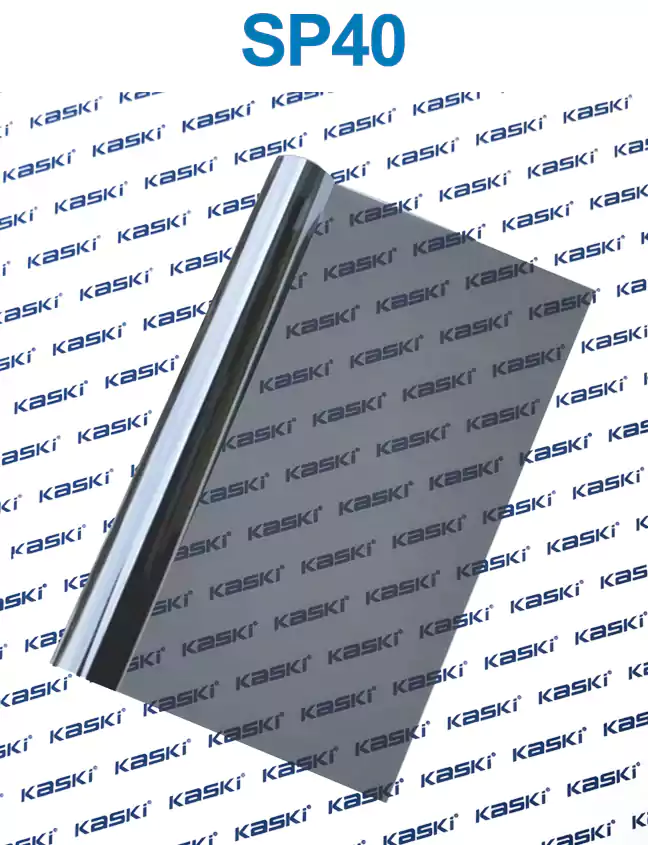
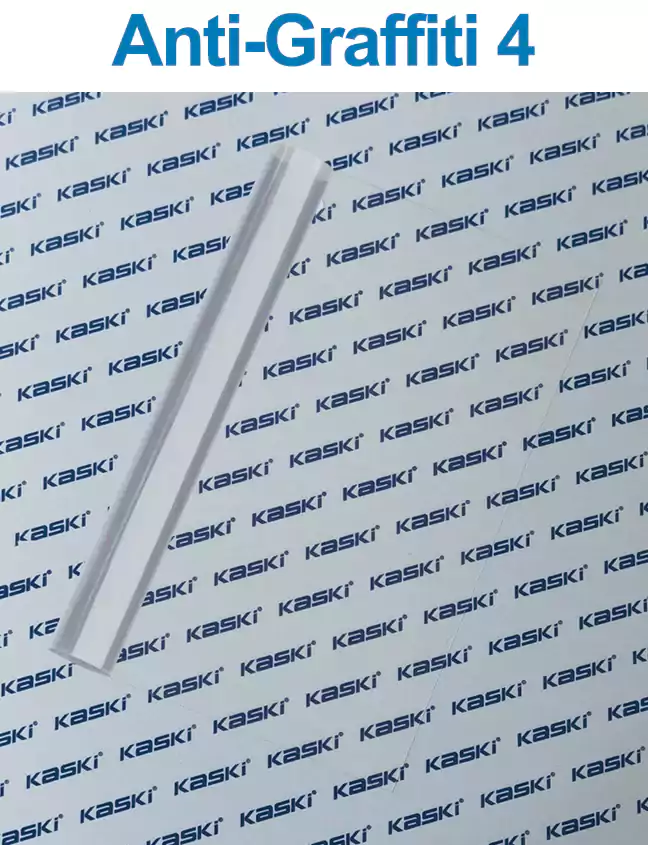
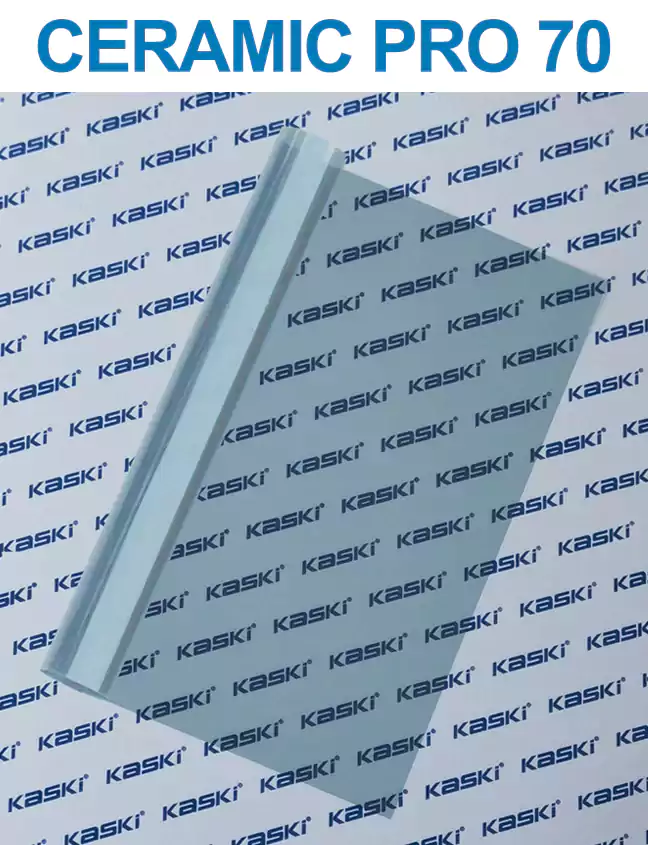
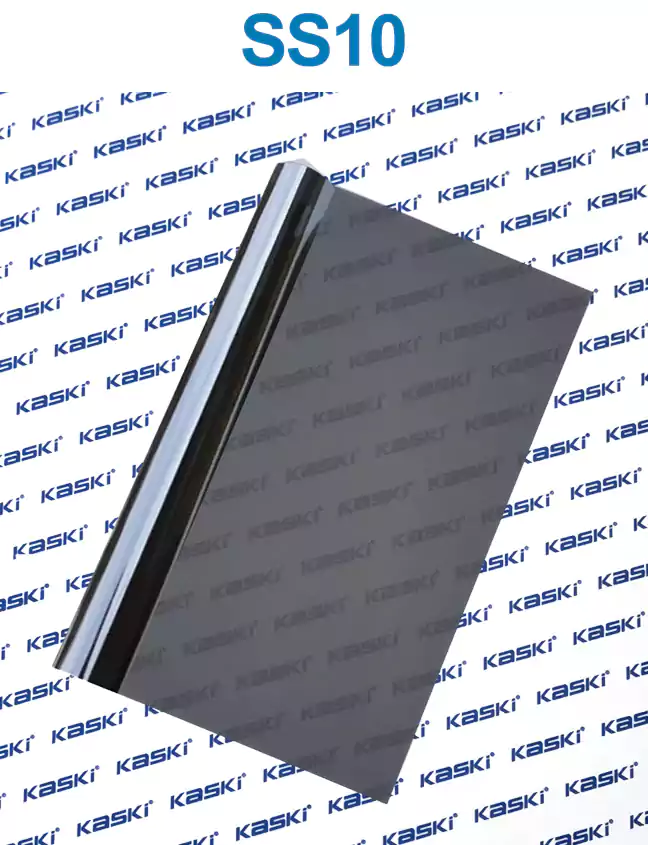
Window tinting is the application of a thin, transparent film to the interior side of a vehicle's windows. This film is designed to block a significant portion of the sun's harmful UV rays and infrared heat, while still allowing natural light to pass through. The tinting material is typically made of a durable polyester or metallic base, coated with a scratch-resistant layer and a specialized adhesive for a secure, long-lasting application.
Advantages of heat control window film
1. Reduced Glare and Eye Strain: Tinted windows help to minimize the glare from the sun, reducing eye strain and improving visibility while driving.
2. Interior Protection: The UV-blocking properties of window tint help to protect your vehicle's interior, including the dashboard, seats, and decorative curtains or blinds, from fading and damage caused by prolonged sun exposure.
3. Increased Comfort and Energy Efficiency: By blocking a significant portion of the sun's heat, window tinting can help keep your car's interior cooler, reducing the need for excessive air conditioning and improving overall energy efficiency.
4. Enhanced Privacy: Tinted windows provide an added layer of privacy, making it more difficult for others to see inside your vehicle.
5. Improved Safety: Some tinting films are designed to hold the glass together in the event of a collision, reducing the risk of shattered glass and potential injuries.
6. Aesthetic Appeal: Window tinting can enhance the overall appearance of your vehicle, giving it a sleek and stylish look.
A Detailed Installation Case: Toyota Camry
To provide a practical example, let's consider the installation of automotive window tinting on a Toyota Camry. The process typically involves the following steps:
1. Preparation: Thoroughly clean the vehicle's windows to ensure a proper adhesion of the tinting film.
2. Measurement and Cutting: Carefully measure the dimensions of each window and cut the tinting film to fit precisely.
3. Application: Carefully apply the tinting film to the interior side of the windows, starting from the top and working downwards, ensuring no air bubbles or wrinkles.
4. Curing: Allow the tinting film to cure for the recommended time, typically 24-48 hours, to ensure a secure and long-lasting bond.
5. Trimming: Once the film has cured, carefully trim any excess material around the edges of the windows for a clean, professional finish.
Testimonials:
"I had my Toyota Camry's windows tinted, and the difference is remarkable. The glare from the sun is significantly reduced, and my car's interior stays much cooler, even on the hottest days. I'm thrilled with the improved comfort and energy efficiency." - Sarah, Los Angeles
"Tinting my Camry's windows was one of the best decisions I've made. The added privacy and protection for my car's interior have been fantastic. I no longer have to worry about fading or damage to my dashboard and upholstery. Highly recommended!" - Michael, Houston
In conclusion, automotive window tinting is a versatile and practical solution for enhancing your driving experience. By understanding the principles, advantages, and the installation process, you can make an informed decision and enjoy the benefits of tinted windows in your Toyota Camry or any other vehicle. Whether you're looking to reduce glare, protect your interior, or simply improve the overall aesthetic of your car, window tinting is a worthwhile investment that can make a significant difference in your daily commute.

