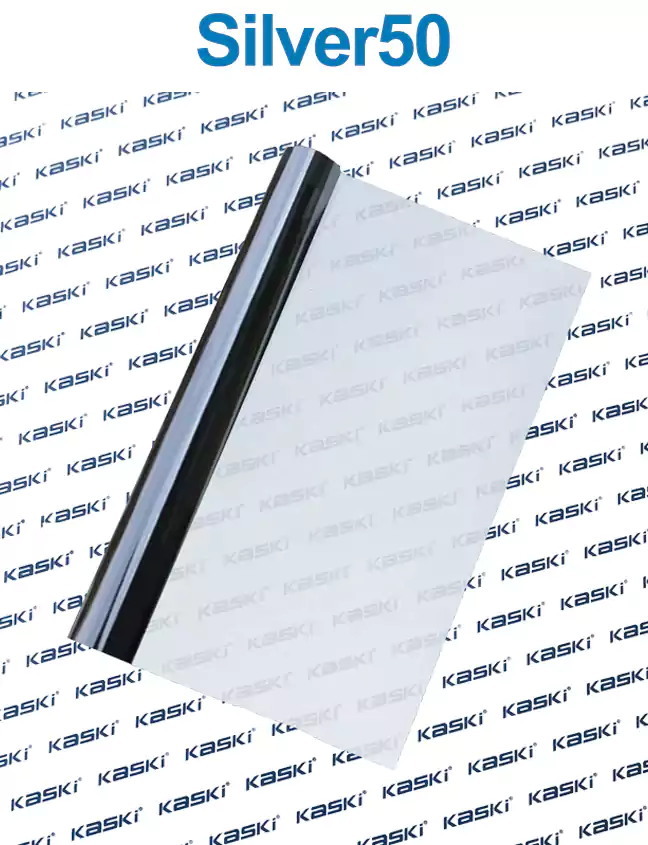
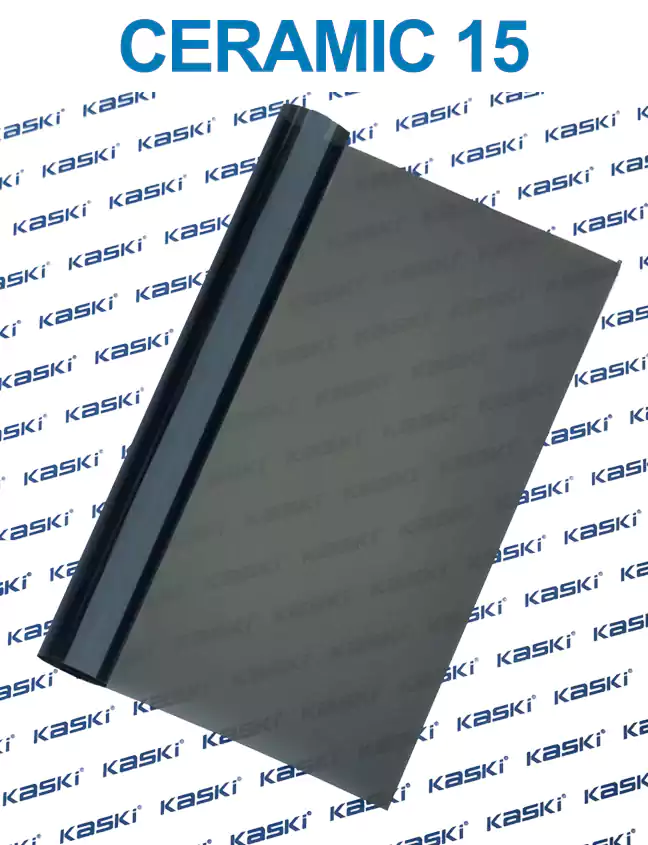
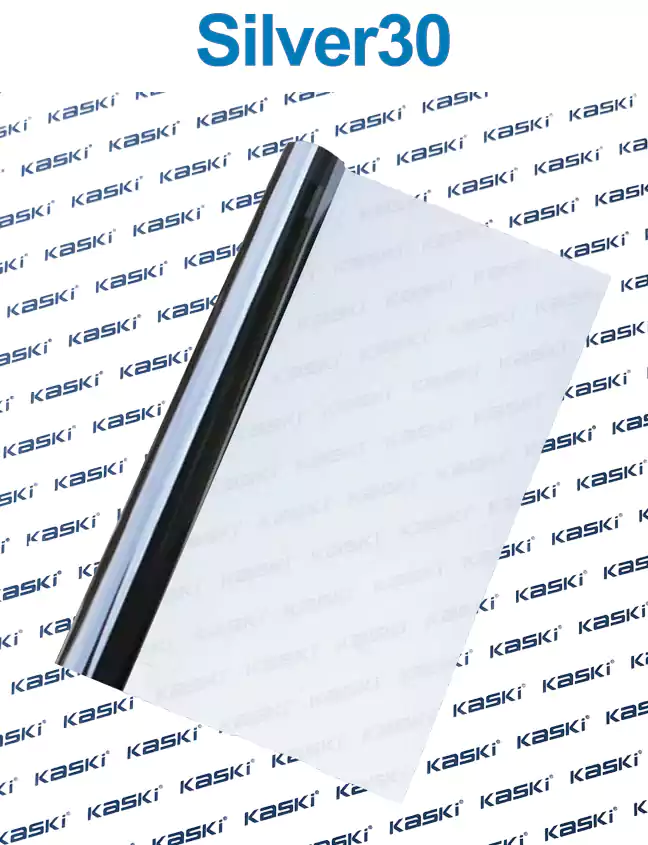
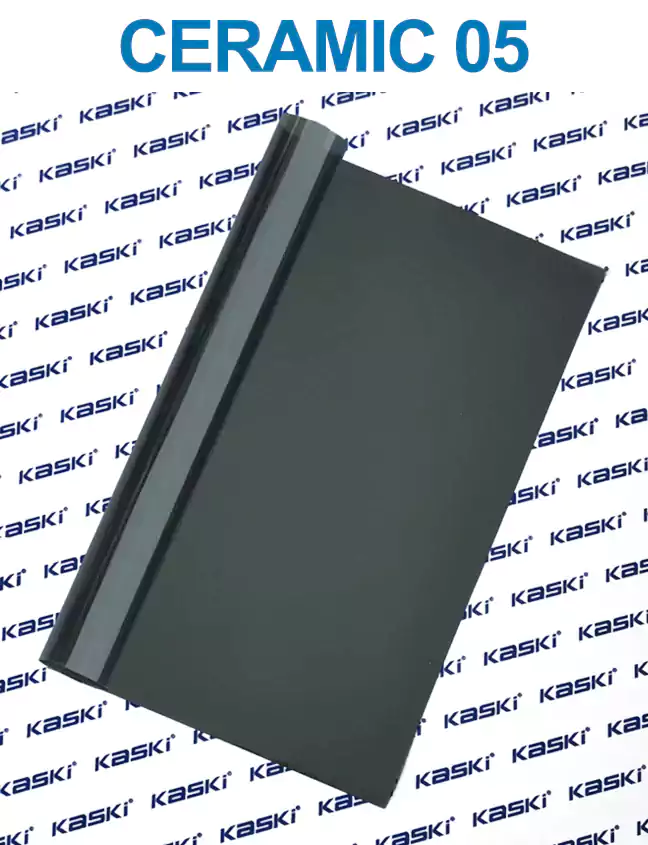
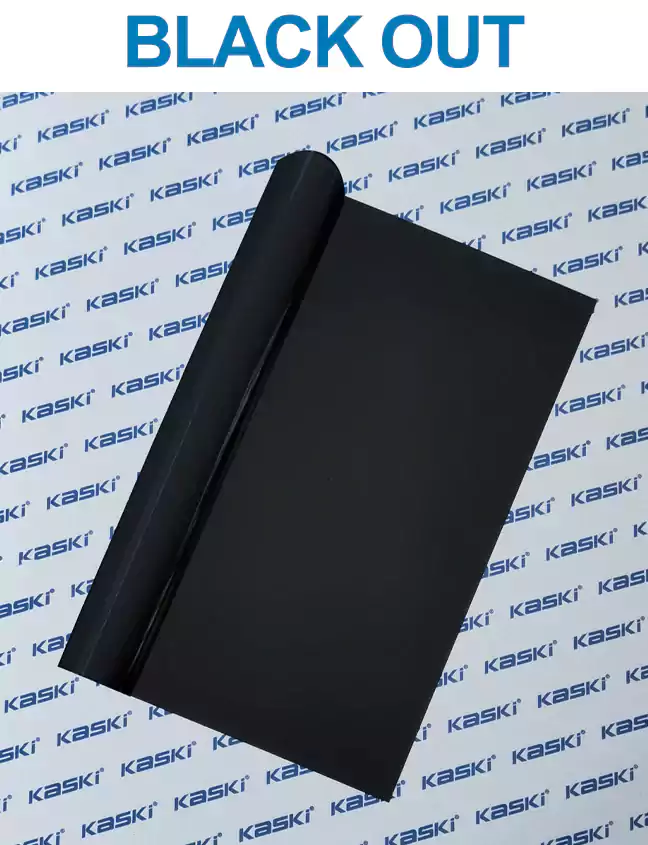
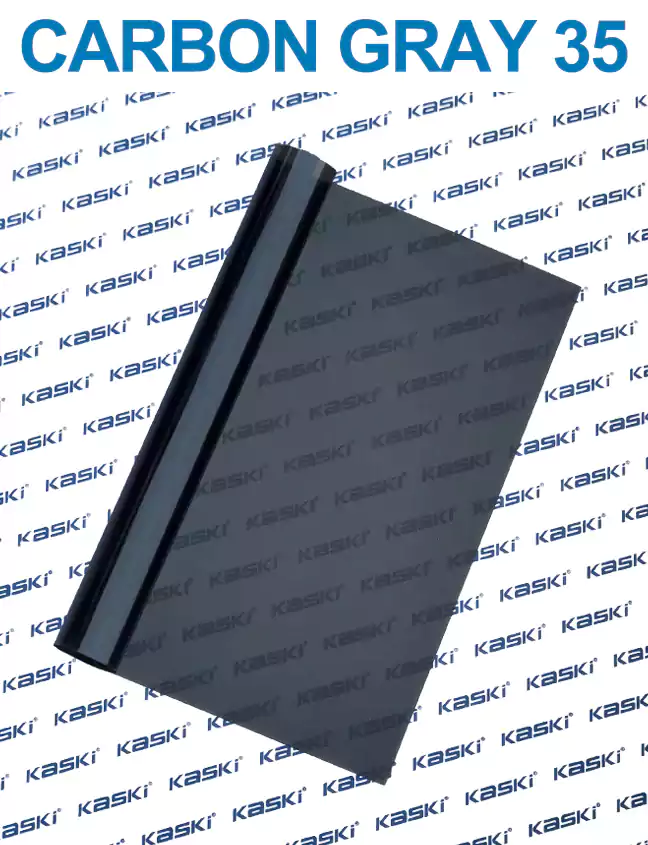
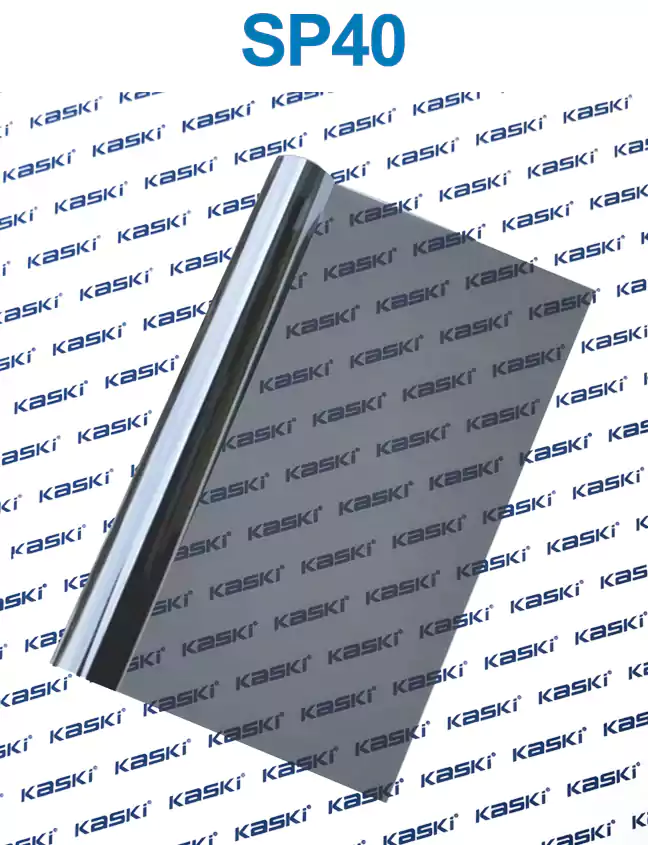
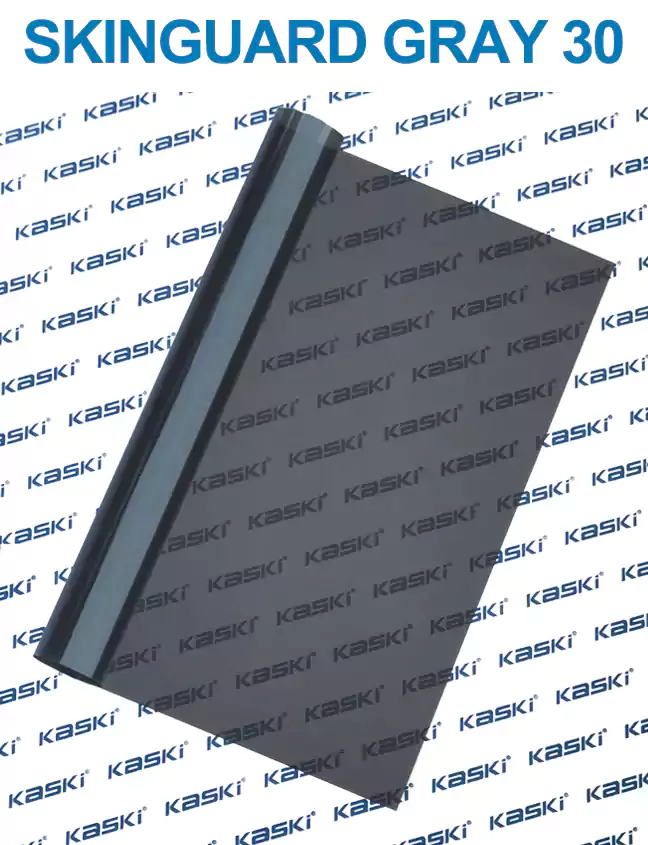
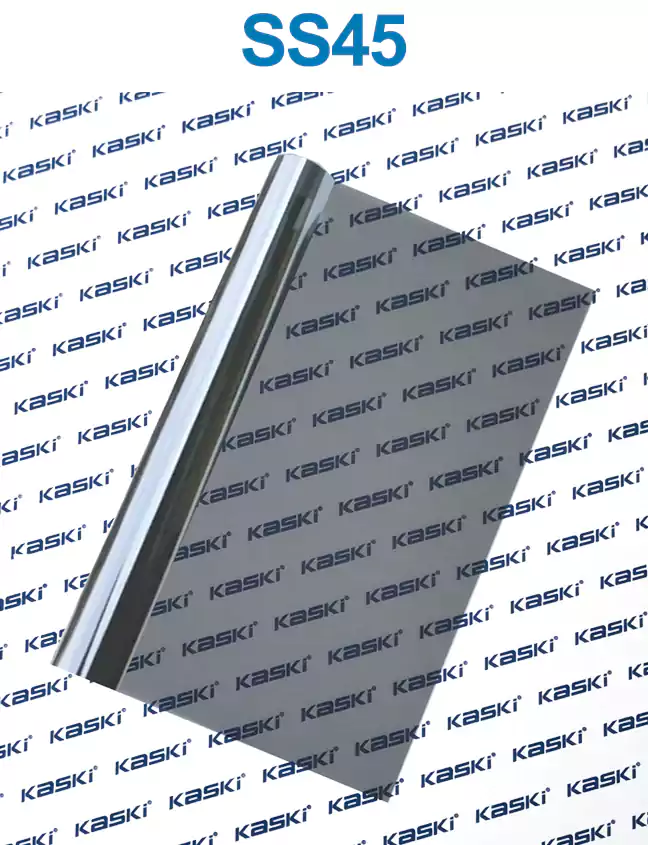
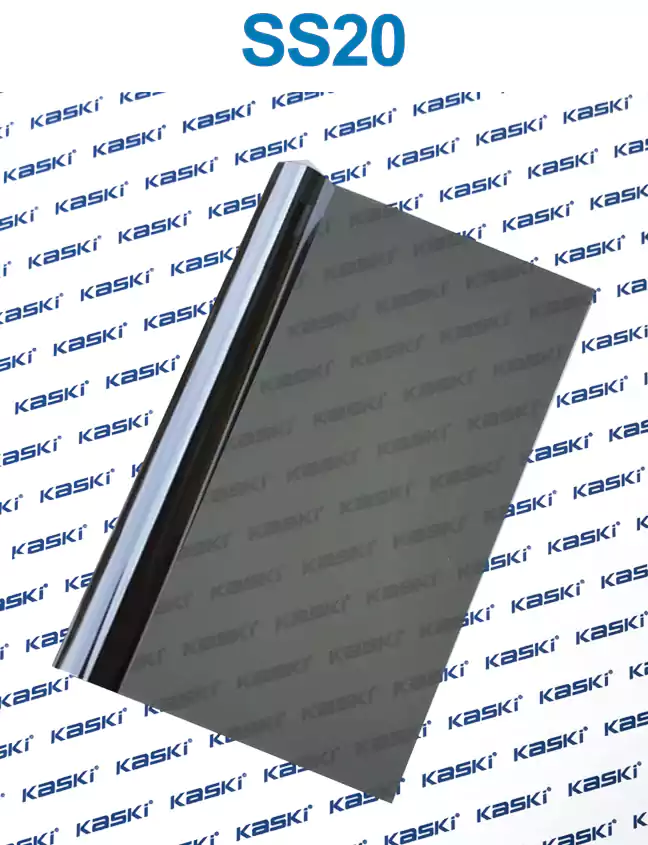
Automotive window tinting is a popular and practical solution for drivers looking to improve the comfort, safety, and aesthetics of their vehicles. Whether you're seeking to reduce glare, block harmful UV rays, or simply enhance the overall appearance of your car, window tinting offers a wide range of benefits that make it a worthwhile investment.
In this comprehensive guide, we'll explore the principles, advantages, and step-by-step installation process of automotive window tinting, providing you with the knowledge and confidence to transform your driving experience.
The Principles of heat control window film
Window tinting works by applying a thin, transparent film to the interior of your vehicle's glass surfaces. These films are designed to reject a significant portion of the sun's heat and block up to 99% of harmful UV rays, without compromising your visibility or the natural light inside your car.
The tinting film is composed of multiple layers, each serving a specific purpose. The base layer is typically made of a durable polyester material, while the middle layer contains the tinting dye or metallic particles that absorb and reflect the sun's energy. The outer layer is often a scratch-resistant coating, ensuring the longevity and durability of the tint.
Advantages of Automotive Window Tinting
1. Increased Comfort and Energy Efficiency: By rejecting the sun's heat, window tinting can significantly reduce the interior temperature of your vehicle, making it more comfortable to drive, especially during the hot summer months. This, in turn, can lead to improved fuel efficiency as your car's air conditioning system doesn't have to work as hard to maintain a comfortable cabin temperature.
2. Protection from Harmful UV Rays: Exposure to the sun's ultraviolet rays can cause long-term damage to your skin and the interior of your vehicle. Window tinting blocks up to 99% of these harmful rays, safeguarding your health and preserving the condition of your car's upholstery, dashboard, and other interior components.
3. Reduced Glare: Bright sunlight can be a significant distraction for drivers, causing eye strain and reducing visibility. Window tinting helps to minimize glare, improving your ability to focus on the road and enhancing overall driving safety.
4. Enhanced Privacy and Security: Tinted windows make it more difficult for outsiders to see into your vehicle, providing an added layer of privacy and deterring potential break-ins.
5. Improved Aesthetics: heat control window film can enhance the overall appearance of your vehicle, giving it a sleek, sophisticated look that complements the car's design.
Installing Automotive Window Tinting: A Step-by-Step Guide
To demonstrate the process of installing automotive window tinting, let's walk through a detailed case study involving a popular car model, the Toyota Camry.
Case Study: Toyota Camry Window Tinting
For this installation, we'll be using a high-quality, professional-grade window tinting film with a visible light transmission (VLT) of 35%. This level of tint provides an optimal balance between heat rejection, UV protection, and visibility.
Step 1: Preparation
Begin by thoroughly cleaning the exterior of the car's windows, ensuring that they are free of any dirt, debris, or residue. This will help the tinting film adhere properly to the glass.
Step 2: Measuring and Cutting the Tinting Film
Measure the dimensions of each window, including the side windows, rear glass, and windscreen. Use these measurements to carefully cut the tinting film to size, leaving a small overlap to ensure complete coverage.
Step 3: Application
Starting with the side windows, carefully apply the tinting film, using a squeegee or credit card to smooth out any air bubbles or wrinkles. Work your way around the car, applying the film to the rear glass and windscreen, taking care to align the edges and ensure a seamless finish.
Step 4: Curing
Once the tinting film has been applied, allow the installation to cure for 24-48 hours. During this time, the adhesive will fully bond to the glass, ensuring a long-lasting and durable tint.
Step 5: Trimming and Finishing
After the curing process, use a sharp utility knife or razor blade to carefully trim any excess tinting film around the edges of the windows, creating a clean and professional-looking finish.
Testimonials
"I recently had my Toyota Camry's windows tinted, and I couldn't be happier with the results. The tint has made a noticeable difference in the interior temperature of my car, and I no longer have to squint against the glare of the sun. The installation process was quick and hassle-free, and the final product looks fantastic. I highly recommend this service to anyone looking to enhance their driving experience." - Sarah, Toyota Camry owner
"As a frequent long-distance driver, the window tinting on my Toyota Camry has been a game-changer. Not only does it keep the cabin cooler and more comfortable, but it also provides excellent protection from the sun's harmful UV rays. The installation was efficient, and the tint has held up beautifully over time. I'm thrilled with the overall improvement in my driving comfort and peace of mind." - Michael, Toyota Camry owner
In conclusion, automotive window tinting is a simple yet highly effective way to improve the comfort, safety, and aesthetics of your vehicle. By understanding the principles, advantages, and proper installation process, you can transform your driving experience and enjoy the many benefits that window tinting has to offer.

