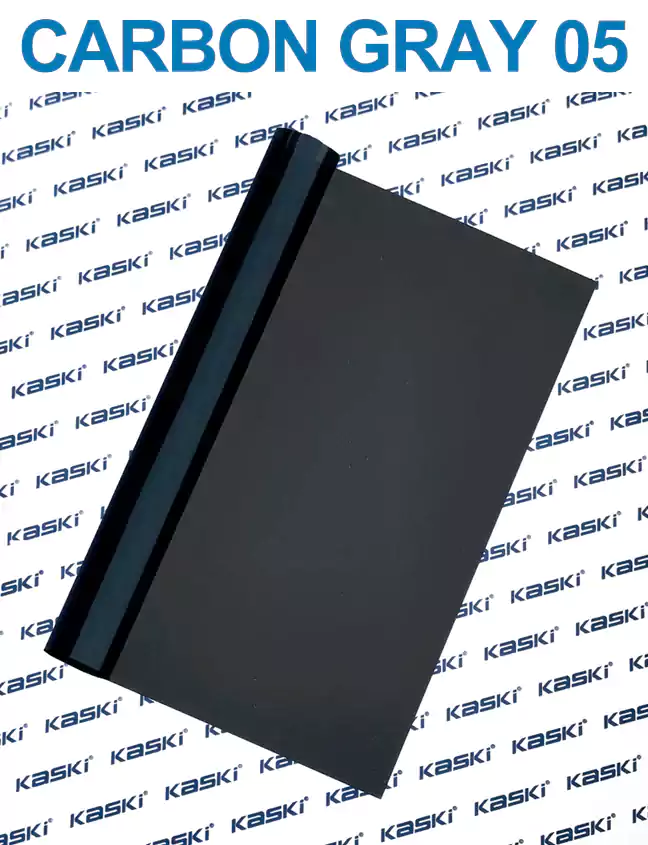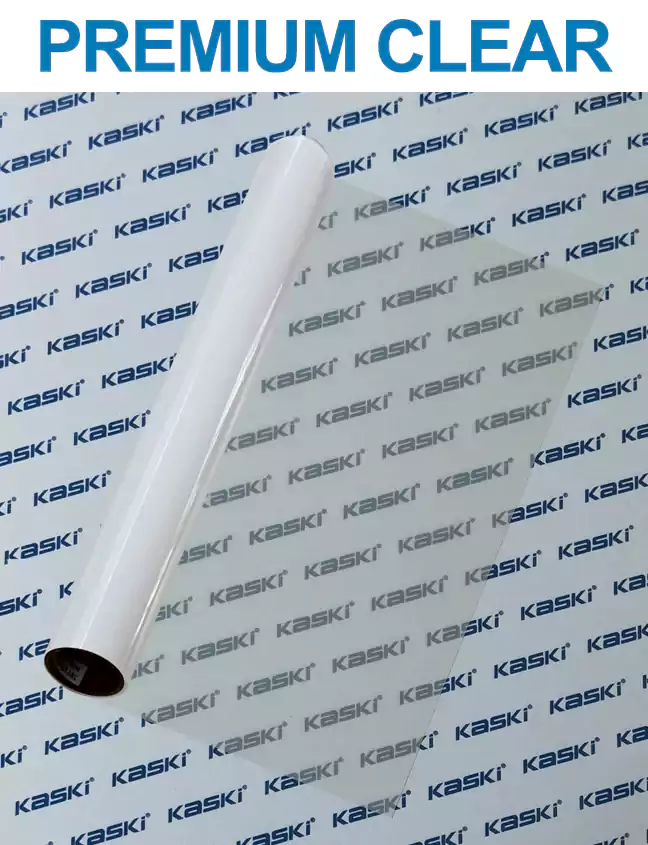
As the sun's rays beat down on our homes, the need for effective heat control becomes increasingly important. This is where Heat control window film steps in, offering a versatile and practical solution to regulate indoor temperatures and protect your living space. In this comprehensive guide, we'll explore the benefits, principles, and real-world applications of this innovative product.
Rejecting the Sun's Heat, Preserving Natural Light
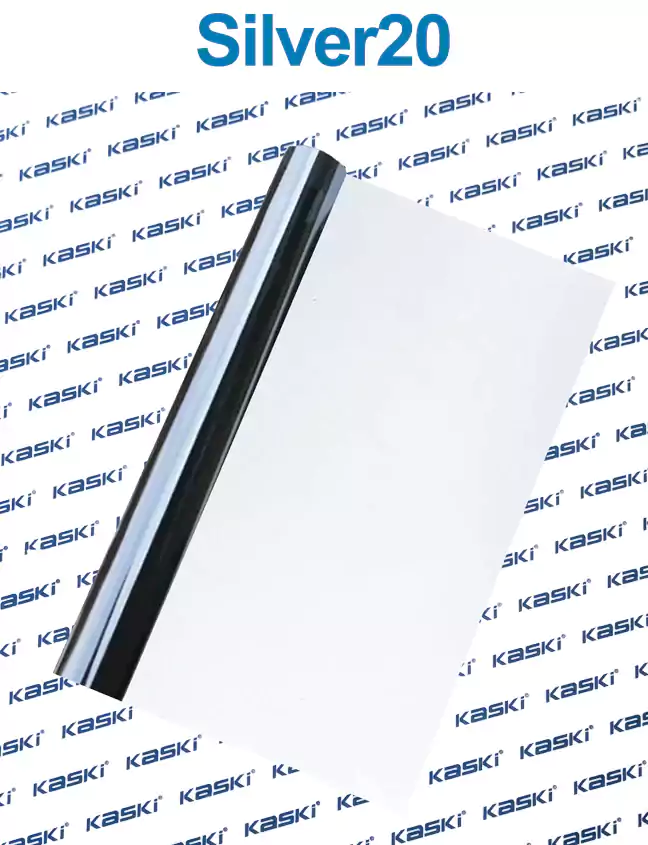
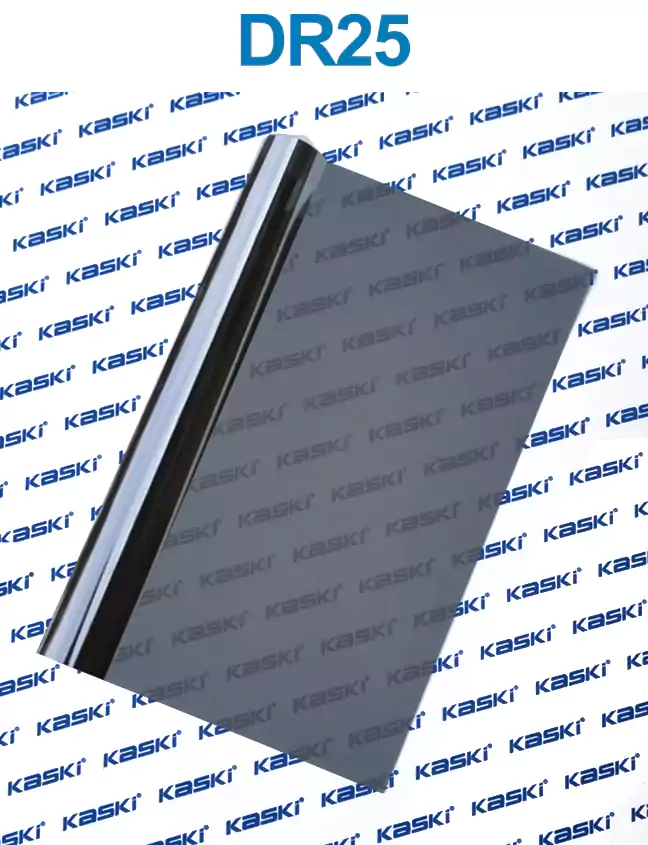
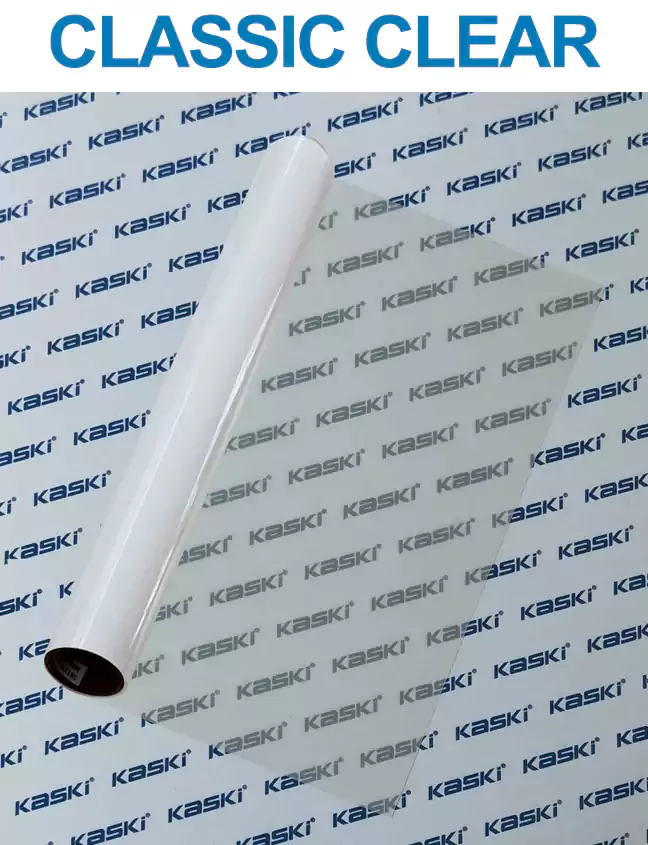
Heat control window film is designed to reject the sun's heat while still allowing natural light to flood your home. By blocking up to 99% of harmful UV rays, this film can protect your decorative curtains, blinds, and furnishings from fading, while also increasing the overall comfort and energy efficiency of your living space.
Staying Cooler in the Summer, Warmer in the Winter
One of the primary advantages of heat control window film is its ability to regulate indoor temperatures. During the scorching summer months, the film can help keep your home cool and comfortable, reducing the strain on your air conditioning system and potentially leading to significant energy savings. Conversely, in the colder winter seasons, the film can also help retain heat, making your home more energy-efficient and cozy.
Principles of Heat Control Window Film
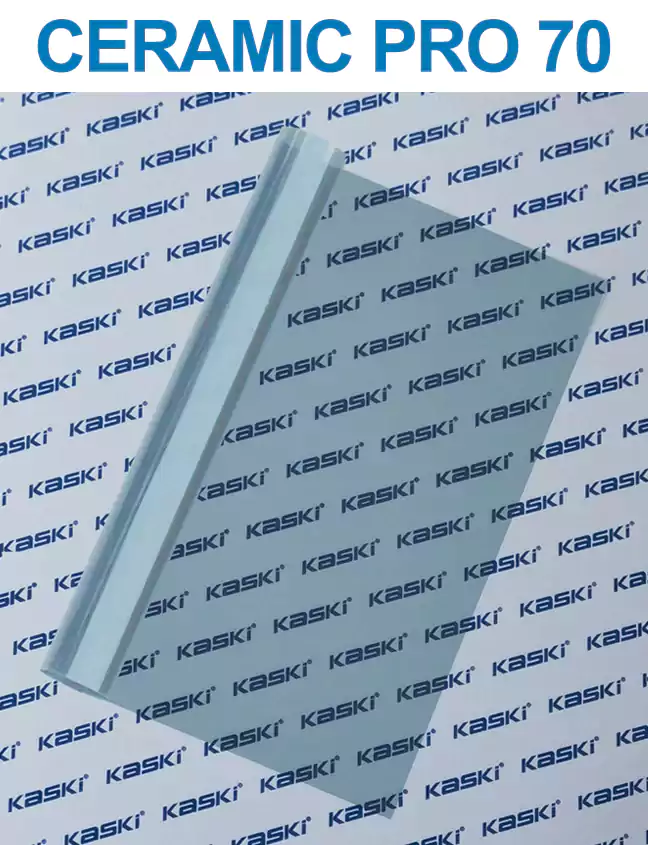
The effectiveness of heat control window film lies in its unique construction and the principles it employs. The film is typically composed of multiple layers, including a metalized or tinted polyester film, an adhesive layer, and a protective coating. These layers work together to reflect and absorb the sun's infrared and UV radiation, preventing it from entering your home and contributing to unwanted heat buildup.
UV Rejection and Heat Rejection
heat control window film is exceptionally adept at rejecting both UV and infrared radiation. By blocking up to 99% of harmful UV rays, the film protects your furnishings, artwork, and flooring from fading and discoloration. Additionally, the film's heat-rejecting properties can reduce the amount of infrared radiation that penetrates your windows, effectively keeping your home cooler in the summer and warmer in the winter.
Testimonial 1:
"Since installing the heat control window film, our home has been so much more comfortable, especially during the scorching summer months. The reduction in heat and glare has been remarkable, and we've noticed a significant drop in our energy bills. We're thrilled with the results and would highly recommend this product to anyone looking to improve their home's efficiency and comfort."
- Sarah, Homeowner
Testimonial 2:
"As a busy family, we were constantly struggling to keep our home at a comfortable temperature. The heat control window film has been a game-changer. Not only has it made our living space more enjoyable, but it has also protected our delicate furnishings from the sun's damaging rays. We're so glad we made the investment, and we couldn't be happier with the outcome."
- Michael, Homeowner
Detailed Project: Whole-House Heat Control Window Film Installation
Project Name: Whole-House Heat Control Window Film Installation
Project Overview:
In this detailed project, we'll guide you through the process of installing heat control window film throughout your entire home. By applying this film to all your windows, you can achieve a comprehensive solution for regulating indoor temperatures and protecting your living space.
Materials Needed:
- Heat control window film (enough to cover all your home's windows)
- Spray bottle filled with water and a drop of dish soap
- Squeegee
- Utility knife or scissors
- Measuring tape
- Masking tape (optional)
Step 1: Measure Your Windows
Begin by measuring the dimensions of each window in your home. This will ensure you purchase the correct size of heat control window film for a seamless and efficient installation.
Step 2: Clean the Window Surfaces
Thoroughly clean the windows, removing any dirt, dust, or residue. This will help the film adhere properly and ensure a professional-looking finish.
Step 3: Cut the Film to Size
Using your measurements, carefully cut the heat control window film to fit each window. Leave a small overlap (about 1-2 inches) on all sides to ensure complete coverage.
Step 4: Apply the Soapy Water Solution
Spray the window surface with the water and dish soap solution. This will act as a lubricant, allowing you to easily position the film.
Step 5: Apply the Film
Carefully place the film on the window, starting from the top and working your way down. Use the squeegee to smooth out any air bubbles or wrinkles, ensuring a tight, even application.
Step 6: Trim the Excess
Once the film is in place, use a utility knife or scissors to trim any excess material around the edges of the window.
Step 7: Allow Time to Dry
Let the film dry for the recommended time, typically 24-48 hours, to ensure a secure bond with the window surface.
Step 8: Enjoy the Benefits
With the heat control window film installed, you can now enjoy the increased comfort, energy efficiency, and UV protection in your home.
By following this detailed project, you can transform your living space and reap the many benefits of heat control window film. Remember to consult with a professional if you have any concerns or questions about the installation process.